Storm System FAQs
Ten Professional Wood Staining Tips
When it comes time to stain your deck, fence, or other outdoor wood surface, it is important to catch up on some “wood finishing 101,” by becoming aware of potential dilemmas you may run into if the wood is not prepared and maintained properly. From oil-based vs. water-based (latex; acrylic) stains, to deck stain color ideas, all these wood staining tips should be taken into consideration before you start your project to achieve a perfectly stained finish!
Choosing the Correct Stain
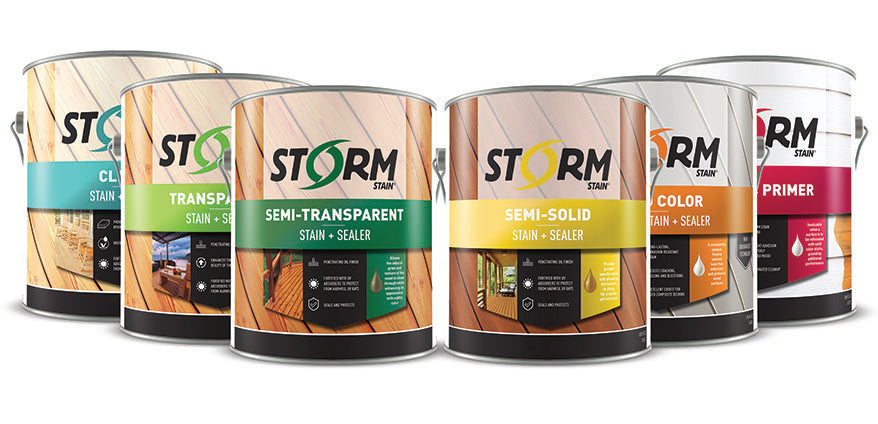
When it comes to your outdoor wood-staining project, it is important to make sure you choose the best type of stain for your wood. Some key ideas that should be taken into consideration when choosing a stain are: “Is the wood new or existing?” “What level of protection does the wood need from outdoor elements (UV, rain, etc.)?” “Do I want a color or clear stain?” “Has the wood been treated previously (how will this interfere/effect the stain)?” Once these questions have been answered regarding your specific project, it will give you a more clear idea of the type of stain to utilize and then you can decide where to buy it from a local retailer. Whether its transparent, semi-transparent, solid or semi-solid, choosing the right stain is a vital part of the process.

Using weather color-coding and phrases, Storm System is organized in five categories based on the level of opacity, degree of UV protection, and typical longevity of each finish.
Varnished Surface
If the piece of wood you are applying stain to already has a coat of varnish on it, it will hinder the stain's ability to penetrate the wood properly, as it acts as a barrier between the two. Varnish protects against water and moisture, thus will not allow the stain to set properly on the wood's surface and will lead to it flaking off. In order to avoid this problem, it is necessary to sand the wood so that the varnished coat is removed completely before you get started with applying the new stain. Whenever sanding wood before treatment, always sand with the grain as even minor scratches will be highly visible after staining!
Types of Wood
Different kinds of wood react differently to stains being applied to their surface. Before beginning the wood staining process, it will help to avoid any issues in color acceptance by first applying a quality base primer to prepare the wood for the application. This will create a consistent base so that the wood reacts positively to the stain and does not appear blotchy and uneven. With some research, you will find there are interactive widgets for selecting the right category of stain depending on your wood type and outdoor needs. It's always a good idea to test your stain on scrap wood to ensure it's ready to apply (and what you ordered at the store).
Humidity and Moisture
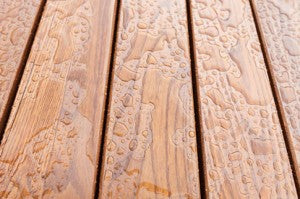
One common wood staining issue comes about when the wood is holding moisture and is not completely dry. It is imperative to make sure the wood has dried inside and outside before starting the process of staining. If this is not taken into consideration, the applied layers will likely flake off and will no longer be protecting the wood's surface. When it comes to treated wood and holding moisture, one deck-staining tip is to wait 6 weeks to allow for a thorough dehydration of the wood and also it is recommended to stain on a warm, dry day.

Wood must be fully dry before treating it!
Stain is Too Thick
Often times if the stain has been sedentary for longer periods of time, it becomes thick in volume. This can lead to uneven application, and the wood to not be protected properly. One wood staining technique to avoid this issue is to add a compatible thinner to the stain in order to get a product that will supply a smooth application.
Sawdust Layer
When wood is cut and manufactured, it is often covered in a layer or sawdust. It most likely still contains this coating when you receive it, and this will prohibit a proper stain application. To remove this covering from the surface, you will need to use cloths that have some stick in their surface and wipe the wood down thoroughly. For large projects, you will likely want to use a power washer to prepare your surfaces instead. Regardless if you are chipping off old paint, or simply rinsing, give the wood surface a full day of sun to dry out before continuing to treat it. If this step is not done before the stain application, sawdust blocking the wood's pores will result in an appearance that is uneven and blotchy.
Oil-Based vs. Water-Based Stains (Latex/Acrylic)
When assessing your potential gallery of color ideas for your choice of stain, it is important to consider if you will go the route of oil or water based stain. Water-based color stains generally provide a much richer color than oil based stains. Water-based stains also do not emit the fumes that oil ones do. Oil-based stains provide a thicker seal, which allows for a high level of protection. In addition, they are more durable and do not need to be maintained nearly as much as water-based stains. Water-based stain is applied the in the same way as oil-based, although your brush choice should be different. For water-based wood stains, a synthetic brush (such as nylon or polyester) is best. For oil-based wood stains, use a natural bristle brush. In either case, plan to spend a little extra for a good-quality brush, which will lay coatings on the wood smoothly and will leave less stray bristles in your coatings.

Don't forget you are protecting your wood!
Be sure that all the exposed surfaces are protected (not just the top!)
Saw Cuts
When a deck is constructed, the wood needs to be sized, which lead to saw cuts. Saw cuts expose the end grain of the pieces of wood, which can potentially allow for a major entrance of moisture. One deck-staining tip that allows for proper care of these cuts is to stack them with spacers so that the air can move through the wood and thoroughly dry it. Once the wood has been provided the proper time to completely dry out, a sealer should be applied to the saw cuts and also the backside of the wood (if not, it can cause cupping) to ensure all surfaces are protected once the deck is built!
Using Multiple Buckets
If you are attempting to stain a large wooden surface that requires multiple buckets of stain, one way to stain your deck like a professional is to combine all the buckets into one mixture. Although the stains are all supposed to be the same color, occasionally they can vary slightly, so mixing them all together will prevent uneven color appearance over the entire area.

An even application will be crucial for uniform appearance (and weathering).
How to Fix/Prevent Blotchy Patches
If you didn't prepare your deck for harsh enough conditions and treat the wood surfaces properly, the newly-applied stain can dry in blotchy patches, which are not visually appealing nor does it provide uniform protection. In order to achieve an evenly stained deck, before starting staining apply a thin coat of wood conditioner with an inexpensive brush. After waiting 15 minutes to allow drying, apply stain while making sure to wipe away any excess stain and only apply in light coats. Wipe away excess stain immediately using a cloth, and if it does not appear flawless after the first coat, a second can always be applied if you follow the rules of a light application.
- Choosing a selection results in a full page refresh.
- Press the space key then arrow keys to make a selection.
